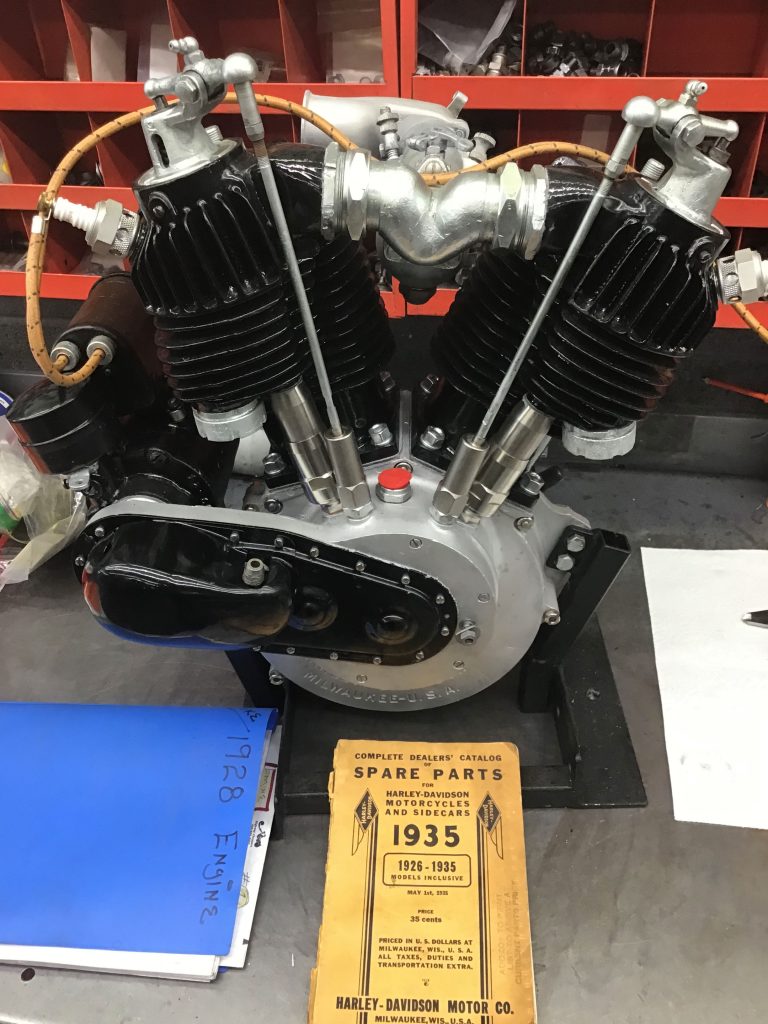
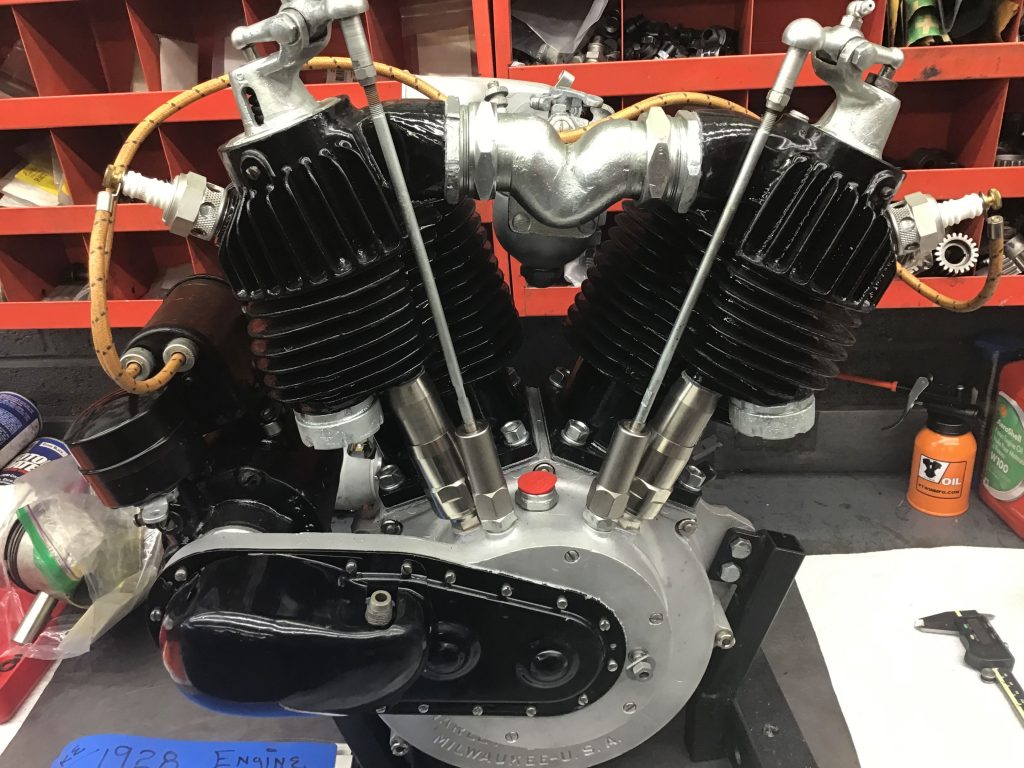
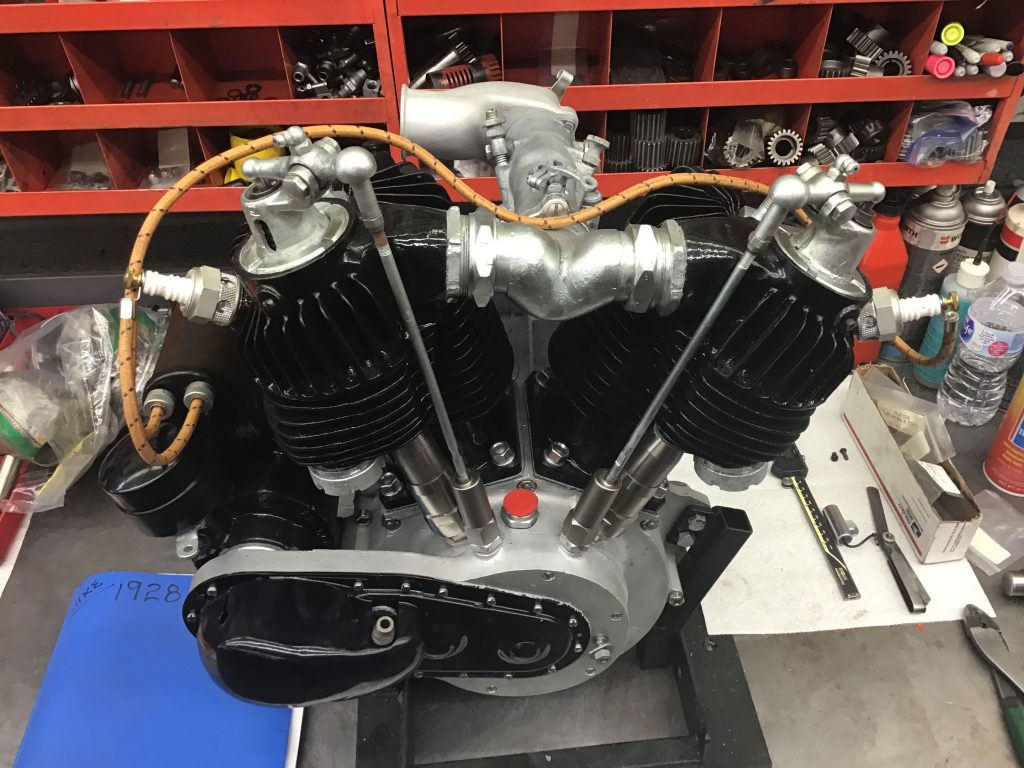
Finally finished a long process with this one – hard to find parts, completely unavailable cylinders… I hunted for a year just to find these.
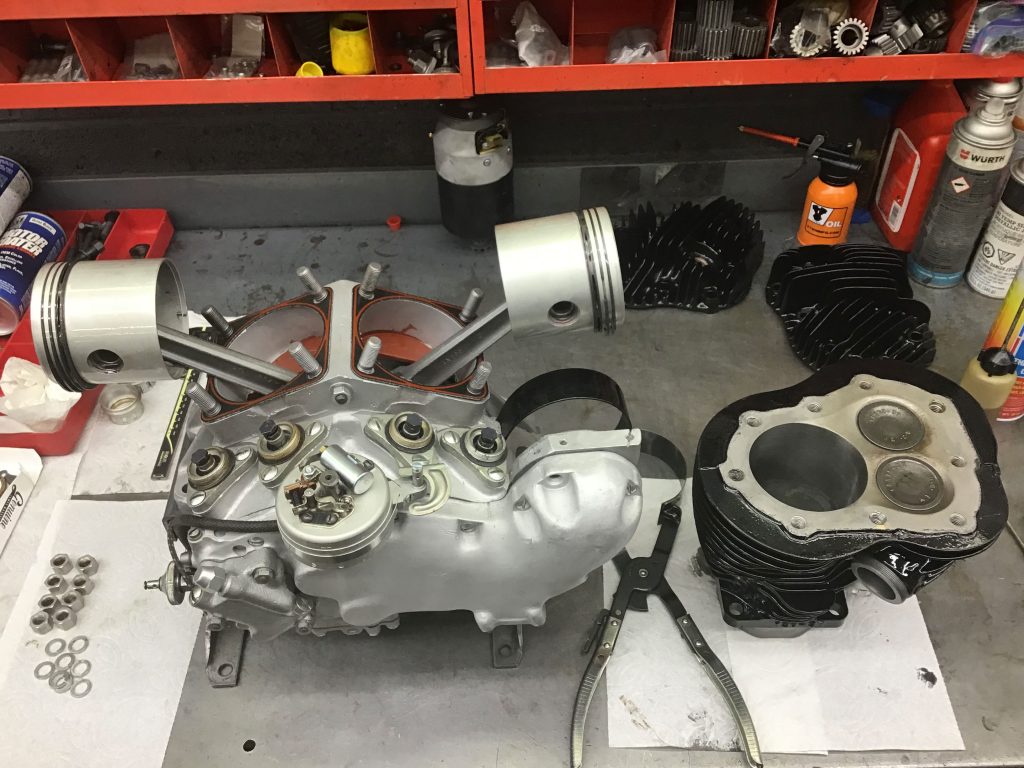
The engine was brought to us with a 61 cubic inch cylinder on the front, and a 74ci rear – the coil had been eaten by varmints, and plenty of other things along the way.
This engine had quite literally been in a barn for the last-half of last-century.
The owner’s family had originally purchased a farm long ago, and this motorcycle was found in the barn. He had played on it as a child, and now decided it’s time to restore the bike.
Possibly more to come on this project.
Archives
All posts for the month January, 2019
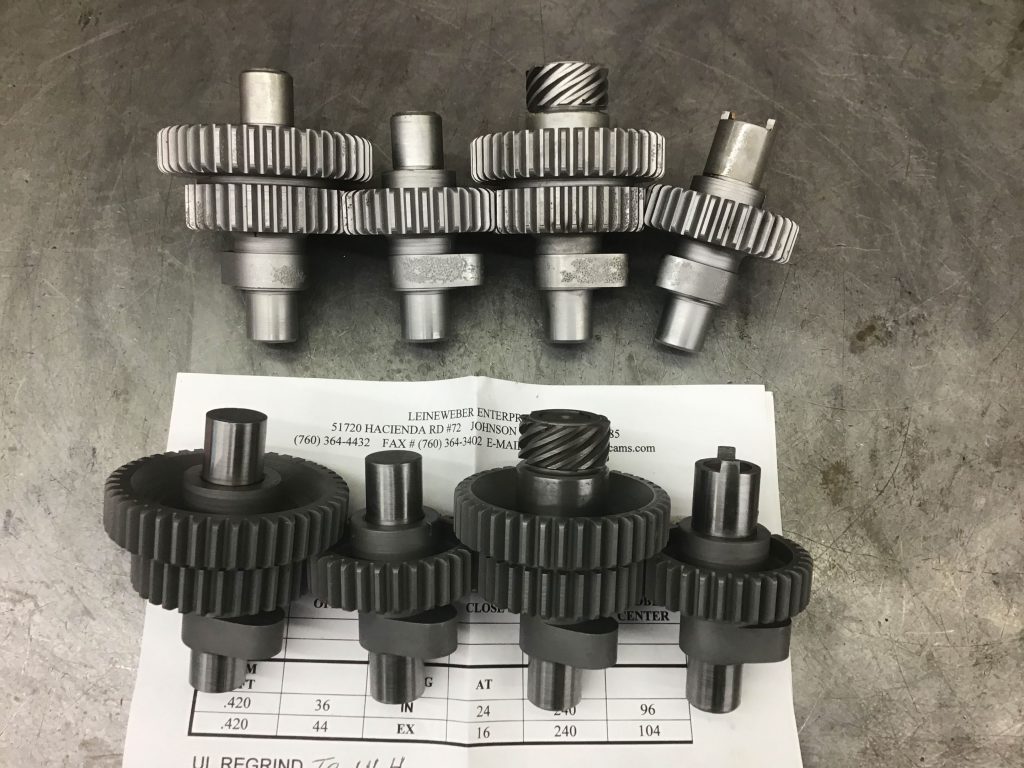
After tearing down the engine, we cleaned and inspected the parts and right away noticed the damage to the cams.
You’ve got the option of replacement using an aftermarket set of cams, which at this point we believe there is only a single vendor as an option. The problem with the new cams is that they pay little attention to the diameters of the gears, the pitch of the teeth, etc – and you wind up with a noisy clanking pile of crap.
We much prefer to have the original set of cams, with their correct pitch diameters, refurbished. Above is an example of a set of these refurbished, reground, and re-hardened cams. Mr Leineweber has developed a regrinding process that doesn’t involve any welding, where he moves the heel of the cam up and grinds off the damaged part of the lobe. Then the cam can be re-hardened to factory specs. The only difference is that the heel of the cam will now be a few thousandths lower, so that the tappet adjustment will have to be raised.
This usually is a plus in most older engines, because the valve seats have been lowered from multiple grindings, making it a win-win situation without a downside.

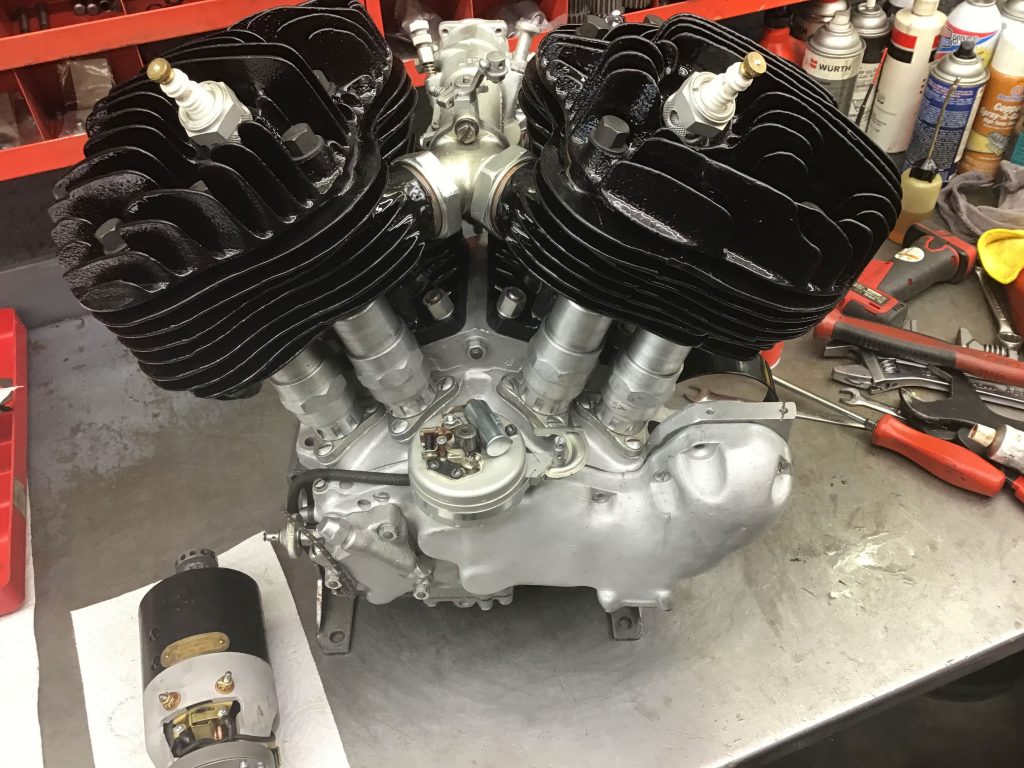
In the photo above note how the generator strap was installed first, so that the generator could be installed and tightened prior to the cam cover installation. This lets you check the clearance between the generator gear and the idler gear. This process is critical, but it’s often overlooked by many engine builders.
To take care of this, install as many paper shims under the generator as required. When the generator screws are tight, and the strap is torqued to 15 ftlbs, the generator gear should have 1-2 thousands of clearance (.001 – .002).
Then you can remove the generator, install the cam cover, and glue the shims in place.
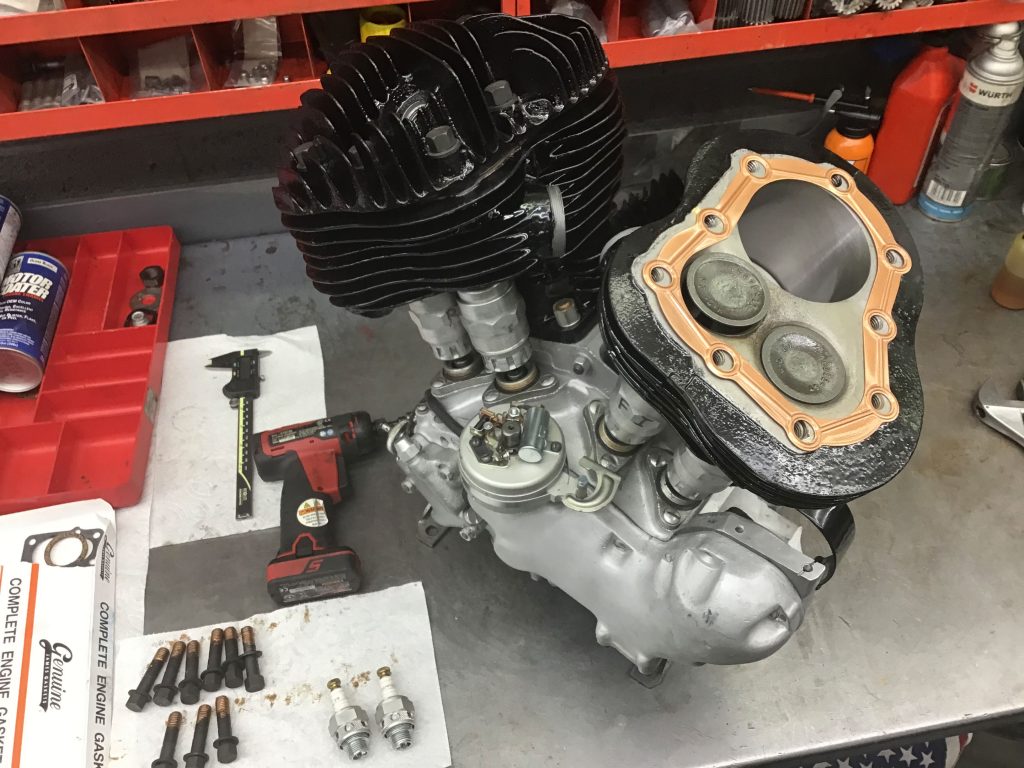
Installed with copper head gaskets, they are first coaTed with 2 coats of copper coat and all the head bolts are treated with anti-seize before they are torqued.
The heads were installed, and then torqued to 45lbs until after warm-up. After that they can go down to 50 ftlbs.
Run stand startup
Usually a noisy lifter problem is due to low oil pressure, which can be caused by several different things. The most common cause of oil loss to the hydraulic system is a poor fit between the pinion bushing and the pinion shaft.
This engine had multiple problems.
Someone had tried to convert it to a full-flow oiling system, but had forgotten to plug the oil bleed hole at the bottom of the pinion bushing cavity (which allowed most of the oil pressure to leak into the cam chest, instead of pressuring up the rods or lifters). There was also excessive tappet to tappet guide clearance.
Other factors contributing to engine noise – the cam gear was the smaller pitch diameter on the scale, and the pinion gear was the same. Together this created a lot of clicking and clacking, since the gears were not meshed correctly.
The distributor drive gear was aftermarket, and half the teeth were removed for a large cam – which was unnecessary in this engine, and the pitch diameter was also too small.
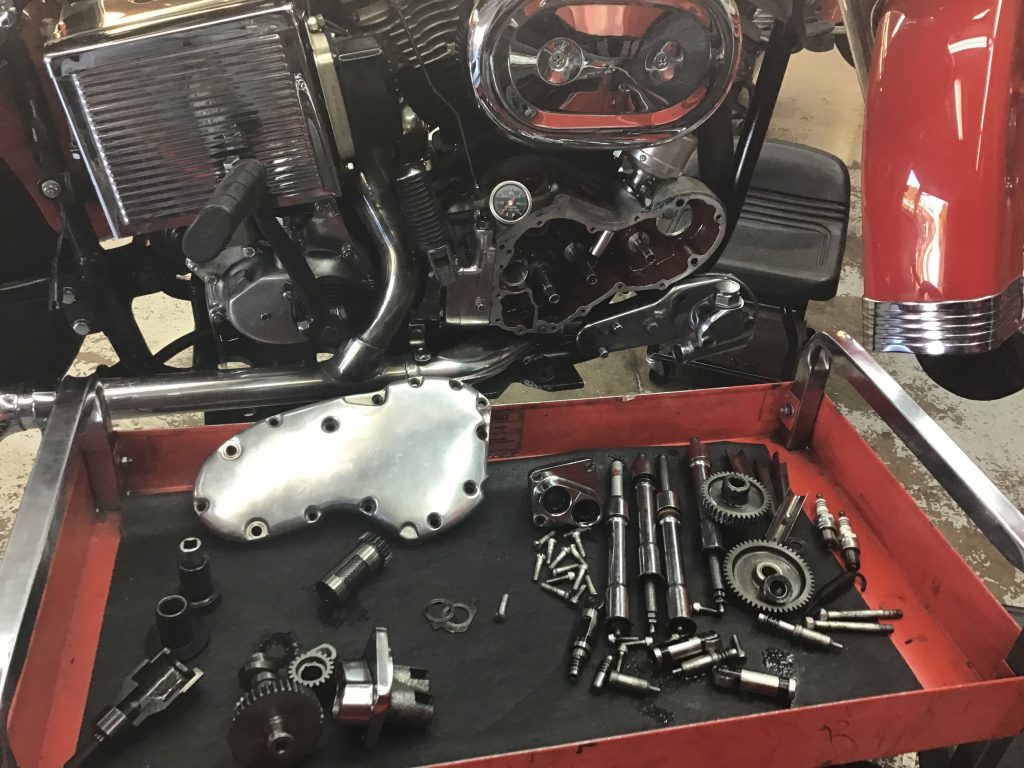
We replaced the cam shaft and set the pitch diameter (through the color coding process), changed out the distributor drive gear, replaced the hydraulic units, and the roller tappets (for + .005), and reassembled the engine.
It’s now it’s a nice quiet engine with the recommended oil pressures.